How to create a personalised instax™ photo calendar
The New Year is a blank canvas — a time to get organised and start afresh. It’s an exciting opportunity to put a positive spin on your New Year and use it as a chance to celebrate your stories.
To help you get in the ‘New Year, New Me’ spirit, we thought we’d let you in on our freshest idea of a DIY instax™ calendar.
Whether you go for a personalised photo-a-day countdown or a bold monthly centrepiece, your instax™ print calendar is a great way to keep your space feeling all kinds of vibrant and wholesome.
Here’s everything you need to know to make your own instax™ calendar.

Step 1: Choose your film
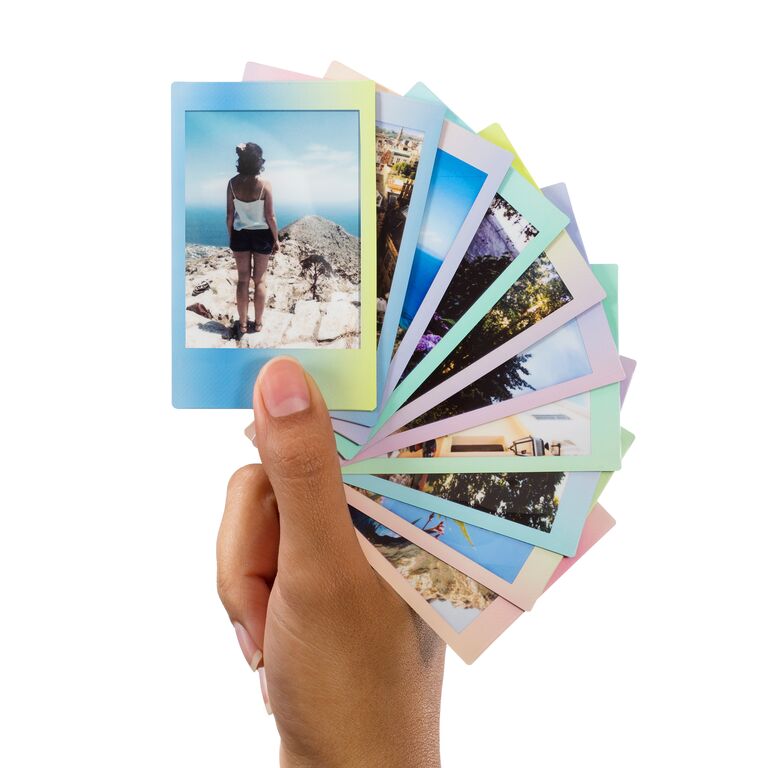
No pressure, but your choice of film sets the tone for your DIY instax™ calendar. Our classic instax mini™ film is the best match for compact calendar designs, while our SQUARE film has a more chic and symmetrical look. Love making a statement? Our WIDE film has your name on it.
Each instax™ film format brings its own charm to the table. All you need to do is pick the one that fits your vision. Not sure where to start? Check out our full range of instax™ film.

Step 2: Capture or print your photos
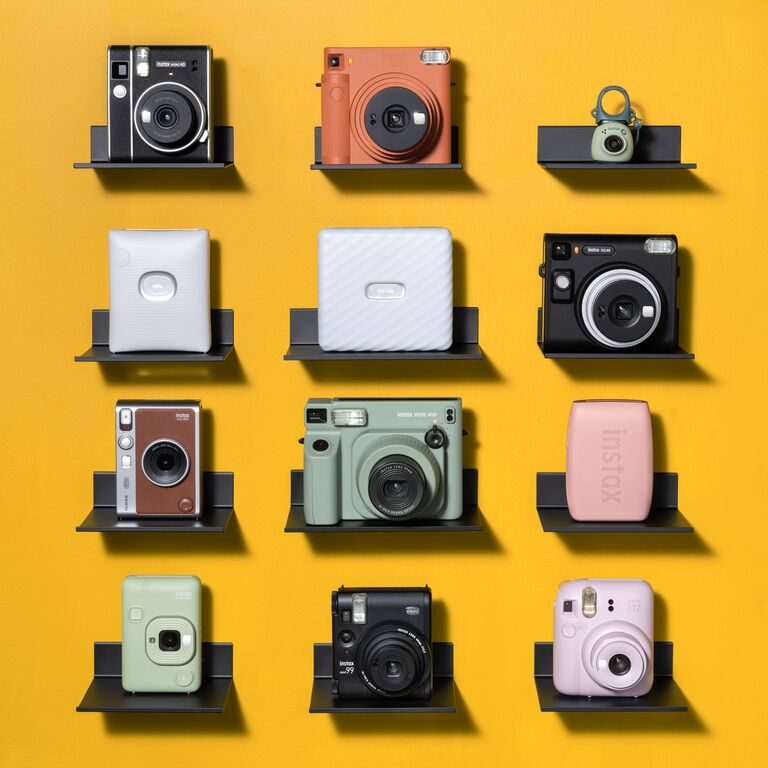
This is where the magic of our instax™ instant cameras and printers comes in. If you’re snapping fresh photos for your calendar, an instax™ camera will be your new sidekick. Not sure which one to pick? Here’s a quick guide:
- instax™ mini 12 camera: Compact, lightweight, and selfie-ready, it’s ideal for capturing quick snaps on the go.
- instax™ SQUARE SQ40 camera: For a retro vibe and a square format that never goes out of style.
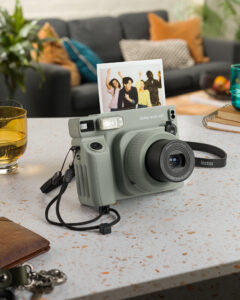
- instax™ WIDE 400 camera: Need to capture the whole squad or the sunset spot you can’t get out of your head? The WIDE format is your best choice.
If you already have a camera roll full of gems for your calendar, that’s no problem. Our instax™ Link printers mean you can print a photo from your phone in seconds.
Step 3: Arrange your snaps
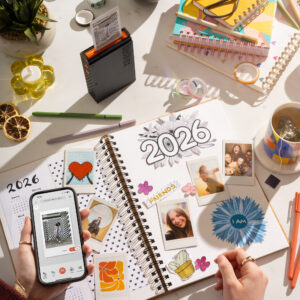
Once you’ve got a collection of snaps ready for your calendar, it’s time to see which ones make the final cut. The beauty of a DIY instax™ calendar is that there are no rules — just choose what makes you happy.
Are you a fan of seasonal aesthetics? Use nature shots that match each month — like fresh smiles with your family for spring, a selfie of you and your bestie at the beach in summer, and red-nosed candid shots for winter. Or maybe you want to spotlight your favourite people and pets instead.
If you’re feeling reflective, you could go for a “year in review” theme. Go through the months and pick the moments you want to hold close from the year just gone, and turn them into your own calendar vision board. By the time next year’s month rolls around, you’ll be able to see where you were a year ago and how far you’ve come since.
It’s a great way to reflect on your past year's highlights. From milestone moments to goofy selfies, it’s all fair game.
Monthly grid calendar
Hang each month’s page on a clipboard or stick them to a corkboard. Swap out the sheet at the start of each month. This layout is perfect for keeping a visual schedule — especially if you don’t get on with the rigid structure of a traditional calendar.
- Start with 12 large sheets of sturdy card — one for each month. Choose colours that match the seasons, opt for your favourite colour, or go neutral for a more minimalist look.
- Place one instax™ print in the centre of each sheet. You can use glue dots or double-sided tape for a clean finish.
- Write the month in bold lettering around your snap, leaving space for important dates, reminders, or goals.
- Decorate the page with washi tape, stickers, or small doodles that reflect the vibe of that month.
Photo-a-day flip calendar
Got so many snaps that you’re not sure what to do with them all? We have a solution. Flip to a new photo every morning with this daily calendar slash daily ritual. See it as a welcome moment to pause and think about the day ahead. Pop it on your bedside table or desk for an uplift every morning, or even use it as a New Year gift for a loved one.
- Select 365 instax™ prints (or as many as you want if you're creating a shorter version like a 30-day calendar). These can be moments from the past year, daily quotes, or snapshots that inspire you.
- Stick your chosen print on a piece of decorative paper or card and cover the top with tape. Punch a hole at the top of the card (not the print, where the strong tape is) and thread it onto a ring binder clip or string.
- Use a mini easel to create a simple stand for your calendar. For a more polished look, stick the last page back to a mini clipboard.
Don’t forget to add handwritten notes or captions on the back of each photo to make flipping through the days even more meaningful. You could even turn it into a mini diary by writing a note about each day that passes.
Collage-style calendar
This DIY calendar style works well when wall-mounted. Use a string and mini clothespins to hang each month’s collage in a row for a bold, visual centrepiece. If you’re crafty, this would look perfect in any studio.
- For each month, pick a handful of instax™ prints that capture the vibe of that time of year. You’ll need enough photos to cover the whole sheet.
- Arrange the prints on a piece of card in a creative collage. Overlap the edges slightly or angle them for a playful look. You could even grab a few magazines and use cut-outs for a vision-board-esque look.
- Grab a black marker to create a calendar grid for each month’s page. Fill the empty spaces with decorative elements like handwritten quotes and stickers. You can also include small cut-outs with key dates or notes.
- Grab post-it notes of a complementing colour and fill up your collage calendar.

Wall string calendar
Now, this calendar doubles as a way to upgrade your room decor. Keep it in your living room or hallway for an eye-catching display. It’s also easy to update at the start of each month. It would work well as a birthday calendar for you and all your friends.
- Find a space on a wall or a door where you can string up a line or two of ribbon.
- Use mini paper clips or pegs to hang one instax™ print for each month in chronological order.
- Below each photo, attach a small piece of paper with the corresponding month’s important dates written out. You could even use a paperclip to fold and pin it to the back so your snaps aren’t covered up.
- Add fairy lights or decorative garlands along the string for an extra bit of sparkle
Magnetic board calendar
If you have a busy household, you can place your magnet board calendar in a high-traffic area like the kitchen or home office. Since it’s easy to rearrange, this style is perfect for families or flatmates who constantly need to update schedules.
- Use a magnetic board as your base. Arrange 12 of your chosen instax™ prints in a grid or circle, leaving space for date markers.
- Mark the month names and any key dates next to your images, using an easy-wipe pen, small magnetic labels, or sticky notes. Then, you can use the empty space on the magnetic board to plan out key events going on in the year. Think smarter, not harder—this way, you can easily rearrange them without damaging the photos.
- Frame the board with washi tape or decorative borders to make it feel more polished and in line with your home’s aesthetic.
Start creating your DIY photo print calendar today
Remember to take your time deciding which calendar style suits you best, and don’t be afraid to mix and match the calendar ideas to create something that fits your schedule.
Whether you’re crafting for yourself, your household, or as a unique gift idea, a DIY instax™ calendar is sure to bring a creative buzz and the warmth of old memories to every day of the New Year.


