The best lighting hacks for stunning instax™ snaps
Lighting = a photographers worst nightmare. Why? Because it’s so hard to control. Poor lighting can take your stunning pic from a masterpiece to a washed-out blur in seconds. So, while we believe that the joy of instant photography is its spontaneity, maybe some forward planning is actually worth it…
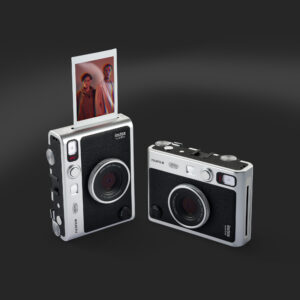
Whether you’re capturing moments on your chic instax™ mini 41, experimenting with the impressive coverage of the instax™ WIDE 400, or living that on-the-go lifestyle with your trusty instax mini LiPlay™ , here are some photo tips to help you light up your snaps in no time.
Why is lighting so important when taking photographs?
Lighting can completely transform your image. It impacts the sharpness, tone, contrast, and mood of your shot. So, next time you think lighting isn’t that important when pressing the shutter, you might want to think again.
Think of good lighting as a trusty friend. She’s got your back, makes you look flawless, and ensures the whole vibe of the photo feels right. With the right light, every snap has that glow-up effect.
Poor lighting, on the other hand? We don’t know her. Expect grainy images, ghostly blurs, and flat photos that just don’t capture the energy of the moment.
How to improve your photography lighting with instax™ instant cameras
Because instax™ instant cameras use real film, you won’t be able to edit or retouch your snap once you’ve pressed the shutter. With instax™, what you see is what you print, so it’s important to get your lighting prep right the first time around.
Once you get familiar with how your instax™ camera responds to different types of light, you’ll find it easier than ever to generate ready-to-display images every time.
1. Utilise available natural light wherever possible
Natural light is the easiest way to enhance your instax™ snaps with minimal effort. Whether it’s soft daylight peeking through the window or a full-on golden hour moment, natural light can add depth and vibrancy to even the dullest pics.
Just try not to avoid taking front-facing snaps in the midday sun, as this can actually take away from the details and produce dark shadows instead. Instead, try snapping in the early morning or late afternoon wherever possible, positioning your subject (whatever or whoever it is) in a way so the light falls on their front or side.
We have three instant camera models that are just made for use in natural daylight:
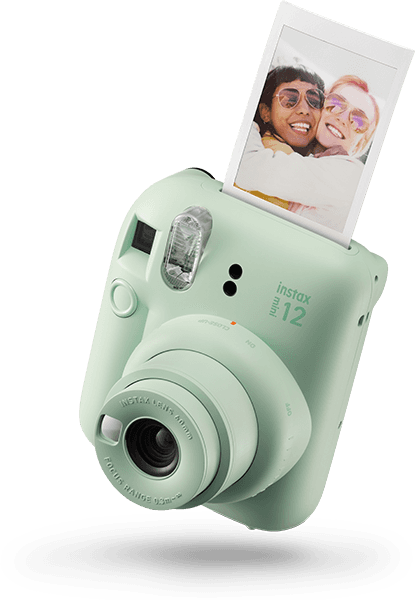
- instax™ mini 41 and instax mini 12™: With their automatic exposure settings and a built-in flash, these instant cameras will automatically adjust their brightness levels to suit your setting. In fact, they’ll even fire off the flash if it feels it’s needed. No need to fiddle about with complicated settings — the instax™ mini 41 and instax mini 12™ will make sure you get the shot every time.
- instax™ WIDE 400: This model thrives in natural light with its extra WIDE format and automatic exposure — perfect for capturing pics that fit everyone and everything in frame. At a garden party or outdoor festival? Let the instax™ WIDE 400 do the heavy lifting for you when it comes to perfecting the lighting.


2. Experiment with angles
Those midday sun shadows we’ve just been talking about? You’ll be glad to know that there’s a way around them. In most situations, it’s just a case of changing the angle of yourself (the shooter) or your subject to minimise shadow.
If you’re taking pics indoors, try standing near a window and turning your subject slightly away from the light source. If that doesn’t work, you can always get a bit more techy with a propped-up sheet of white card or a max-brightness phone screen to bounce available light back into the shadows.
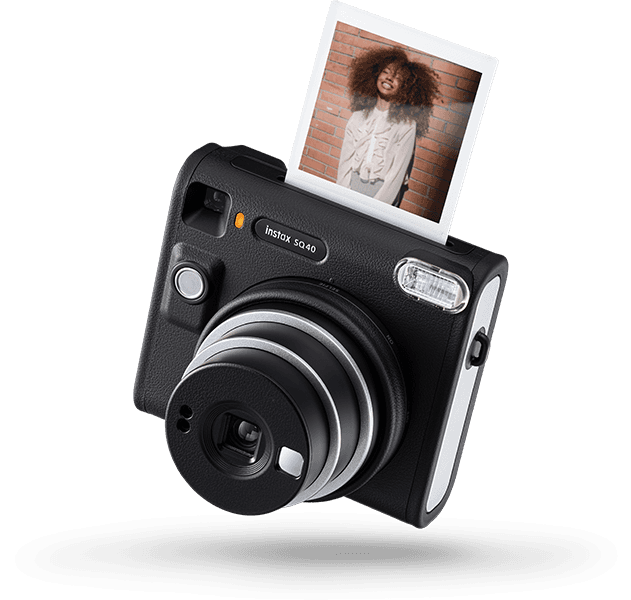
The instax™ SQUARE SQ40 also offers a nifty way around this issue with its automatic exposure and flash output control. These features essentially mean that it constantly adjusts to the lighting in your environment, before you’ve even put your finger over the shutter, ensuring that your subject and background are perfectly exposed. Its square format is also ideal for modern, artsy portrait shots, as an extra bonus.
3. Bring in other light sources
Tried everything to upgrade your lighting situation and run out of options? It’s time to bring in our favourite recruits: an ambient light source.
Ambient light sources like fairy lights, candles (real or LED), lamps, and even coloured LED strips can easily add more mood and texture to your photos when used in the right way. This is also a great tip for highlighting backgrounds in low-light shots — it ensures that the flash doesn’t create too much contrast between the background and your subject.
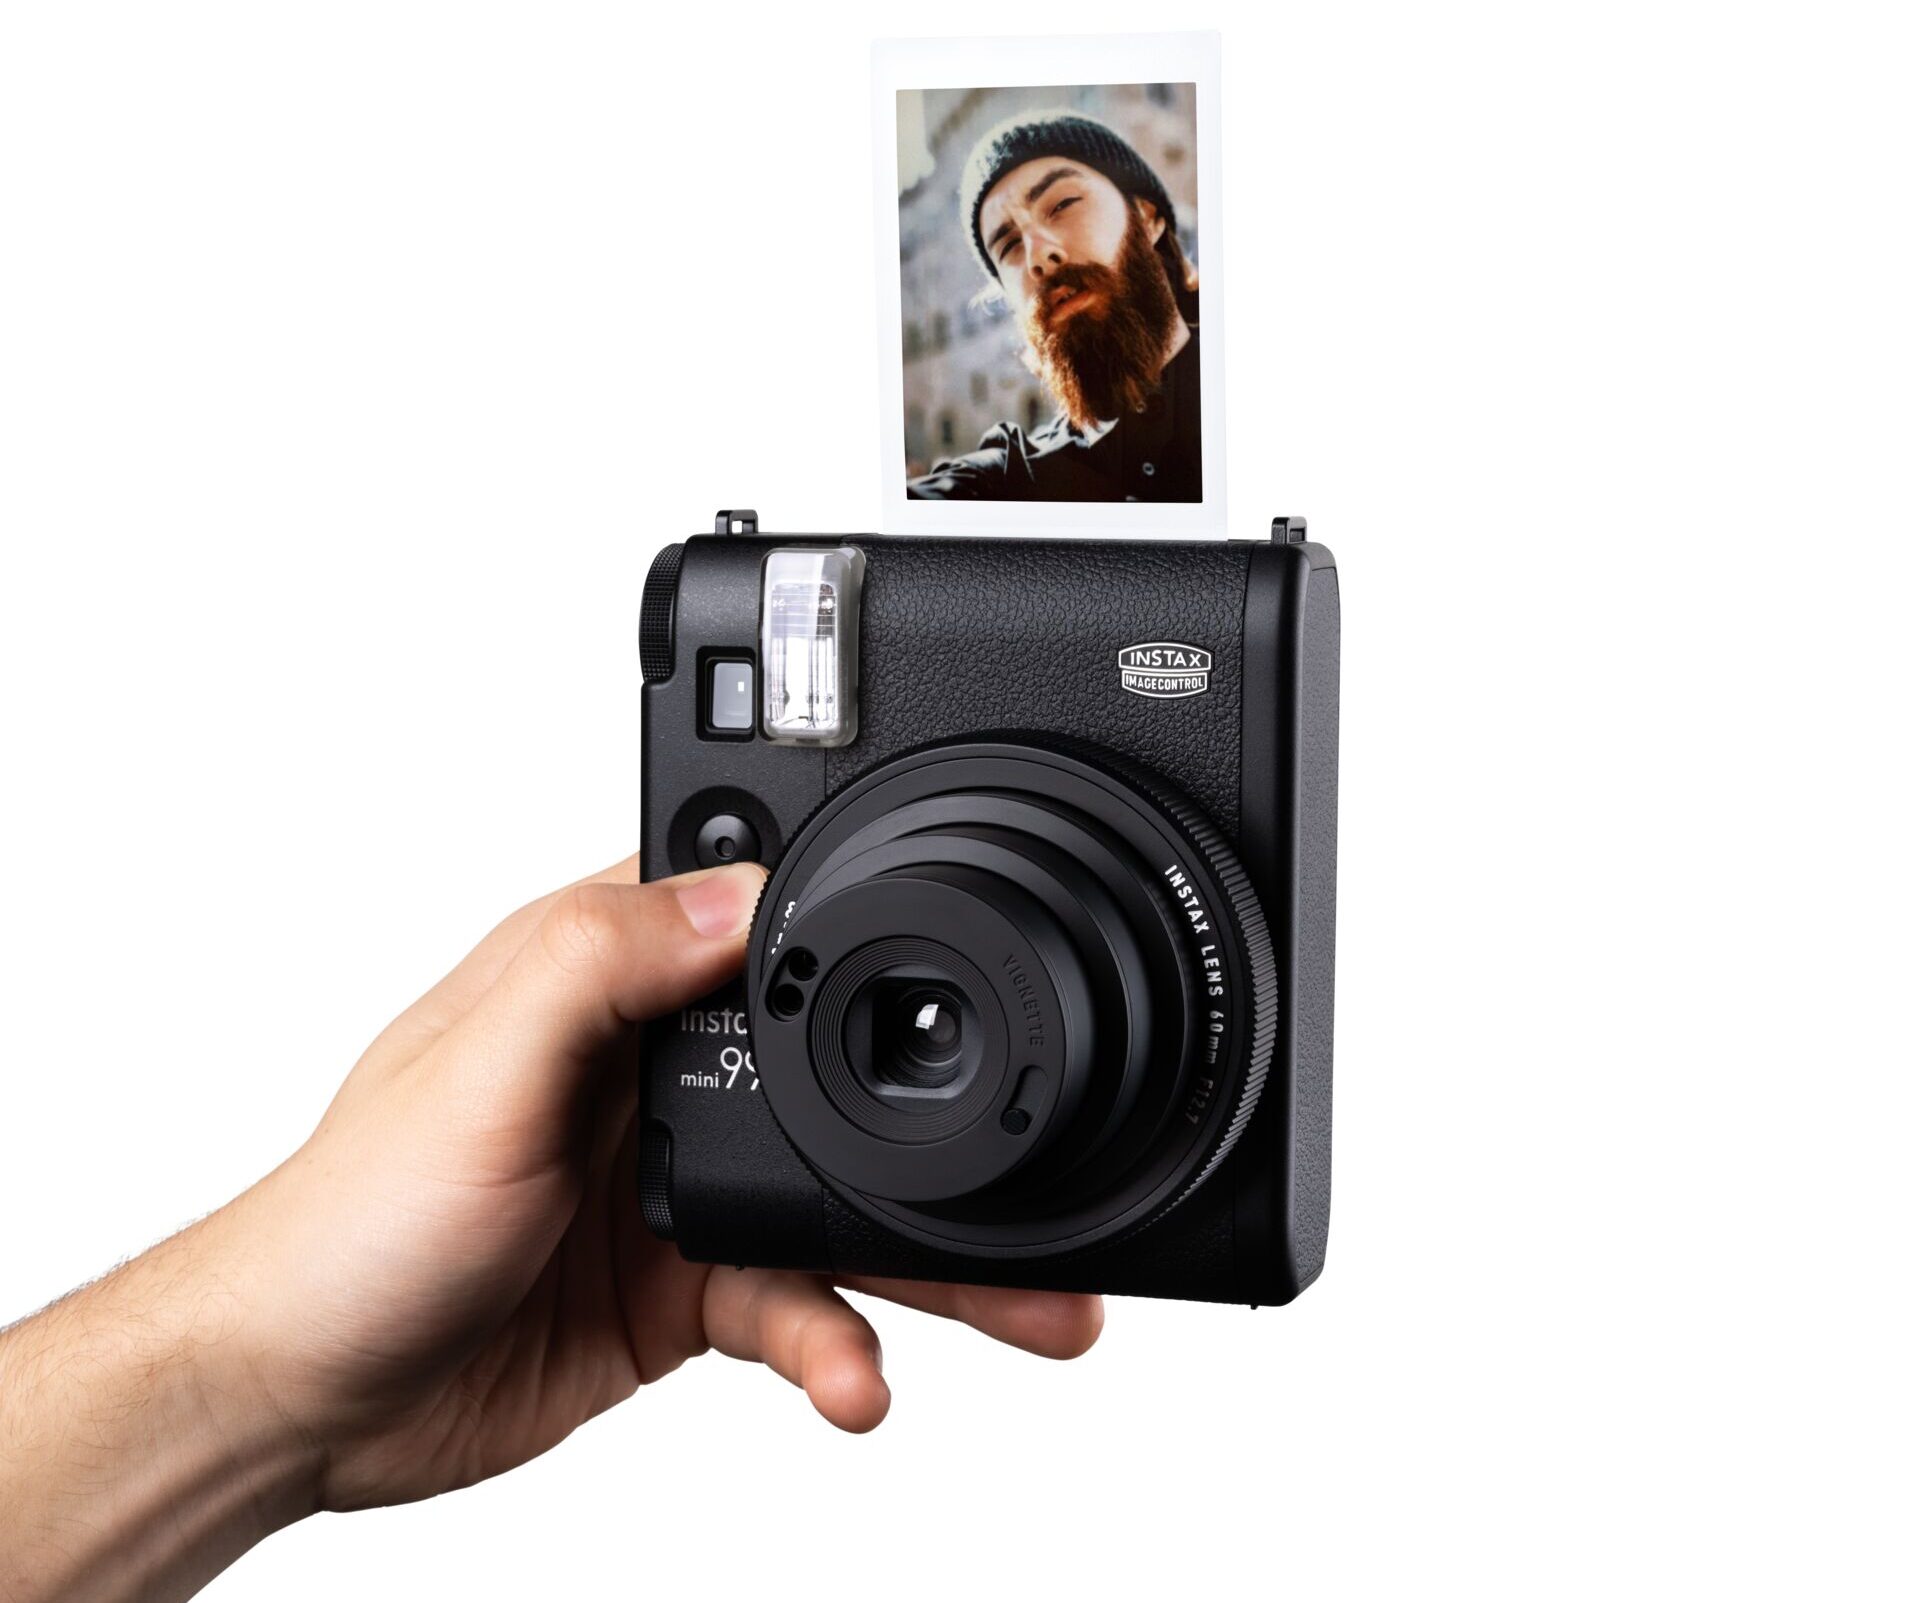
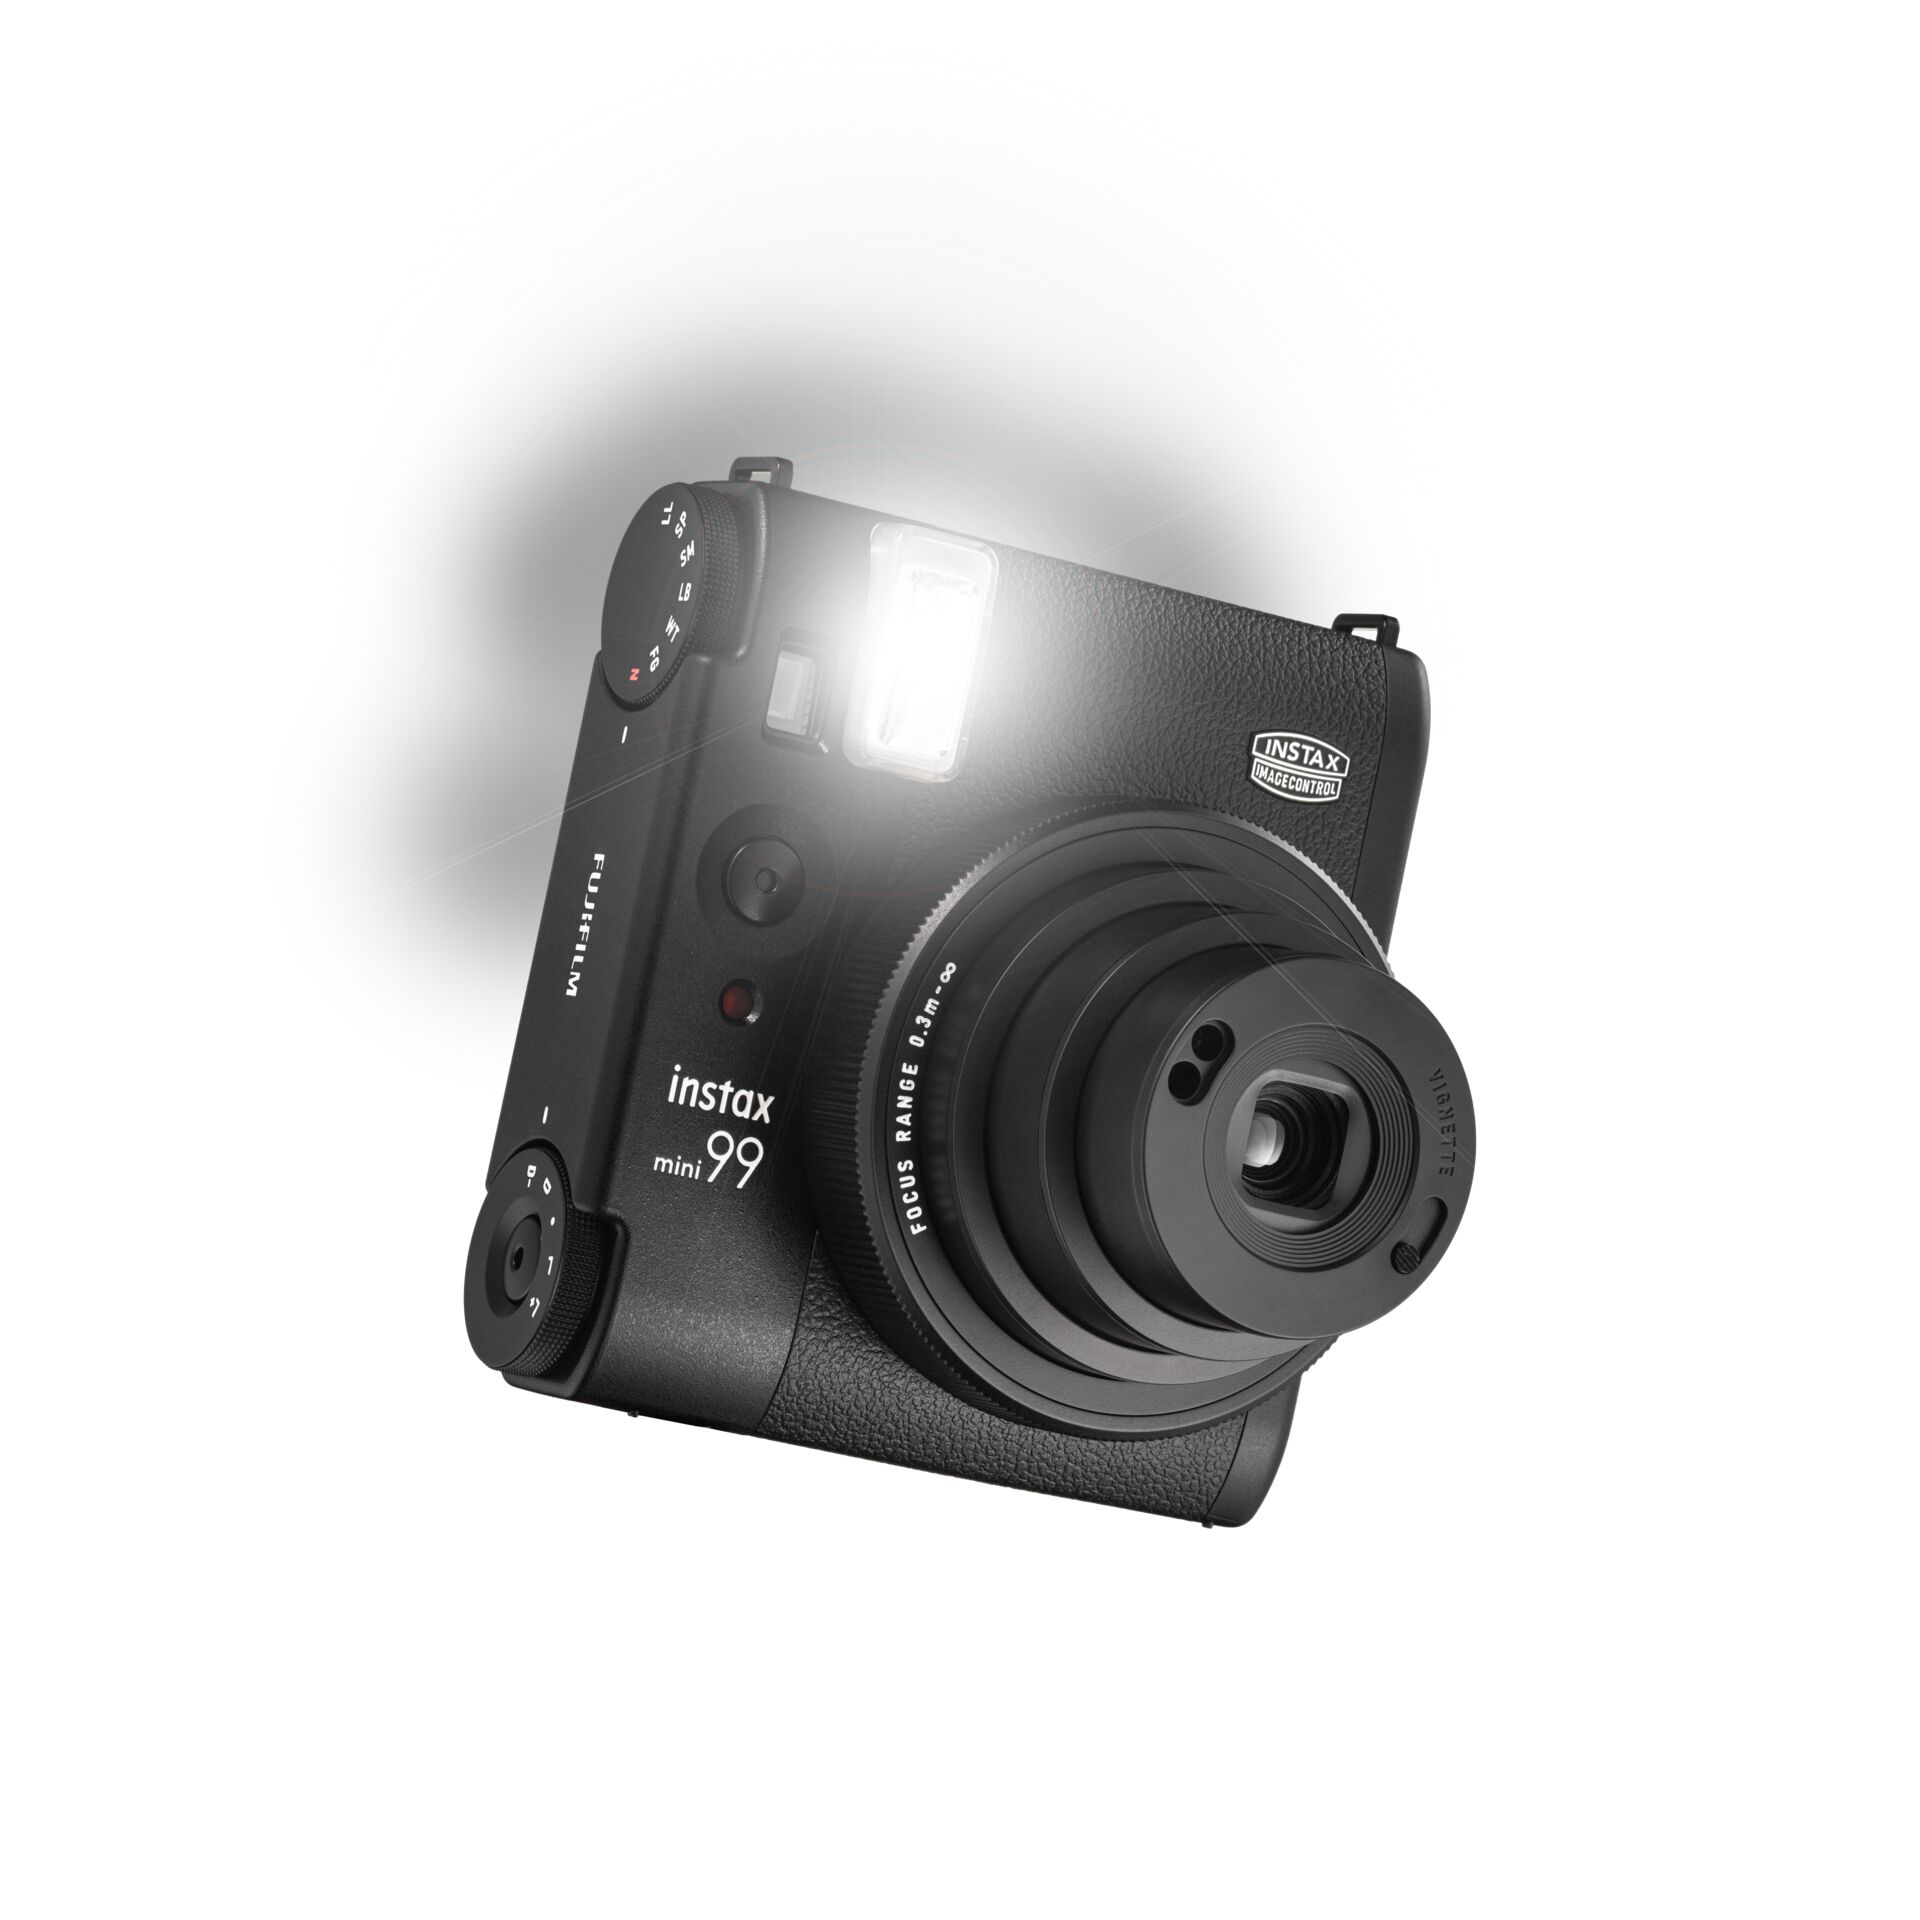
The instax™ mini 99 is our absolute go-to for more creative, artistic lighting effects. Here’s one of our favourite instax™ mini tips and tricks… To add to the dreamy effects of ambient light photography, it features six colour effect dials, ranging from Sepia to Light Blue, to directly add more colour to your shot. You can even manually control the brightness to match the lighting vibe you’re going for, whether that be warm and cosy or dramatic and bold.
4. Get to know your flash and how to use it
When used strategically, the flash of your instax™ instant camera can balance low light conditions, sharpen up fuzzy details, and keep your photos vibrant and rich instead of dull and washed out.
Try experimenting with your flash to get to know its effect. It works great in the day and at night, and especially during subject close-ups. If its effects still feel too harsh, keep taking steps back away from the subject until it diffuses, or add more ambient light to soften the scene.
Depending on your chosen instax™ instant camera model, your flash range will usually sit around the 0.3 to 2.2 metre mark. So, if your subject is too far away, you may find that the flash doesn’t quite reach them. The same goes for being too close; this could make your subject look a bit too washed out. As a general rule, try to keep your subject within 1 to 1.5 metres of the camera to hit that lighting sweet spot.
Here’s how our instax™ instant cameras take the guesswork out of the mix for you when it comes to utilising the flash:
- instax™ mini 41: Uses a constant-firing flash with automatic light adjustment. No need to switch it on or off — it will let you know when it’s needed.
- instax™ mini 99: Features a manually adjustable flash, fill flash option, and brightness control dial so you can tailor flash intensity to your subject and surroundings.
- instax™ SQUARE SQ40: Applies automatic exposure with a flash output adjustment for lit (no pun intended) snaps, even when it’s pitch black outside.
Level Up Your Lighting with instax 101 on YouTube
Looking to level up your shots even more? Check out the instax™ 101 series on YouTube.
It’s packed with quick, easy-to-digest tips to help you experiment with lighting, angles, and all the little tricks that’ll make your snaps stand out.
Take your instant snaps to the next level with these instax™ photography lighting tips
Ready to put these photography lighting tips into action? Grab your instax™ and get experimenting. If you’ve not yet joined the instax™ club, try out our comparison tool to unveil your camera match. Because life is better in light (and full colour).